Ping Identity
Set up SAML SSO with Ping Identity (PingOne). See the common values shared across all providers.
Always set the username attribute as EMAIL. This is important — Sundial matches users by email.
Steps
-
Log in to your Ping Identity account.
-
Go to Applications → Applications.
-
Create a new application by clicking the + icon.

-
Name the app
Sundial. -
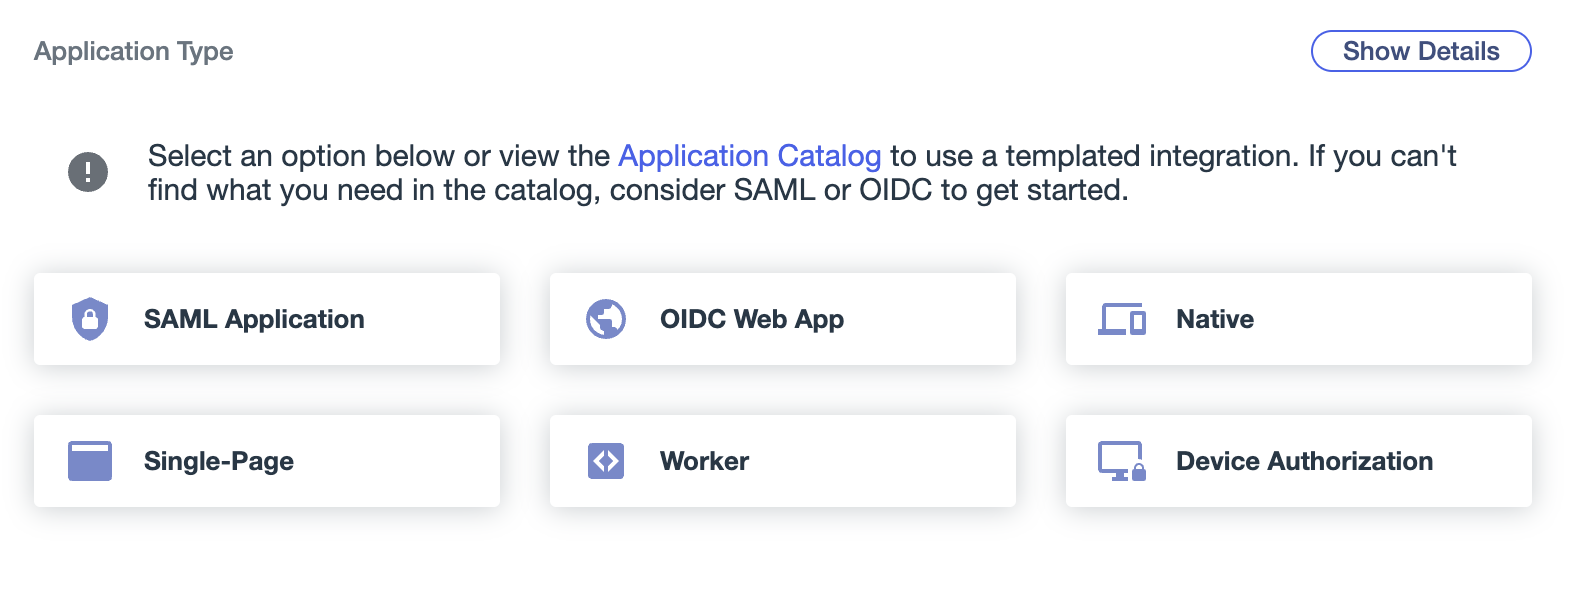
Choose Application Type as SAML Application and save.
-
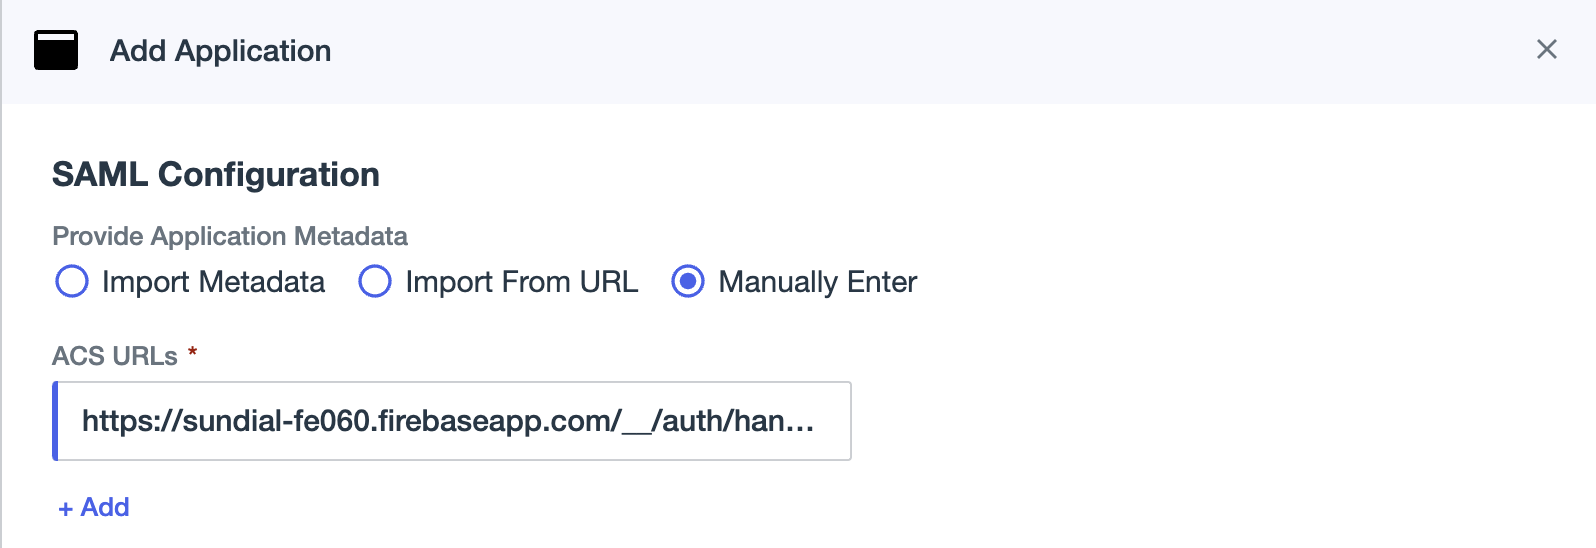
Under SAML Configuration, choose Manually Enter and fill:
- ACS URLs:
https://sundial-fe060.firebaseapp.com/__/auth/handler - Entity ID:
Sundial - (Optional) Application Base URL:
https://app.sundial.so/
- ACS URLs:
-
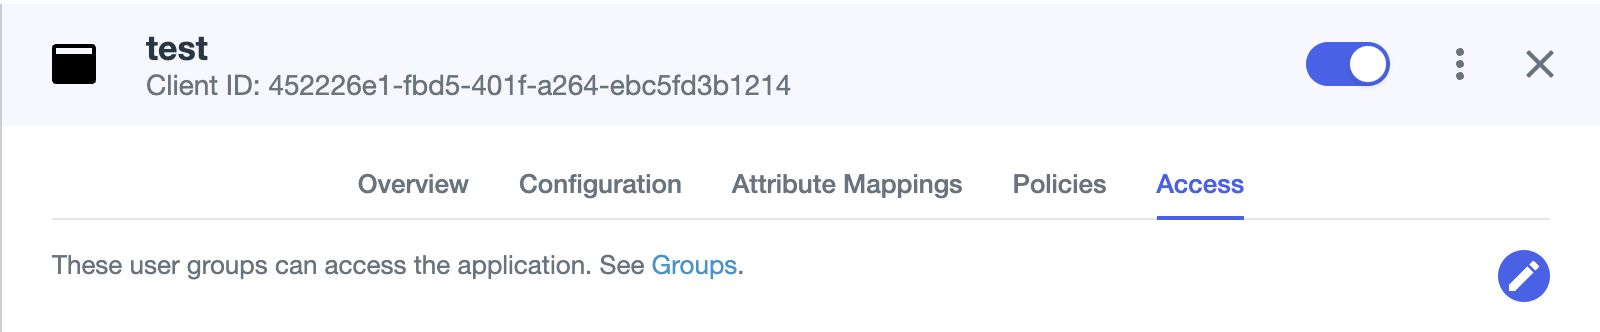
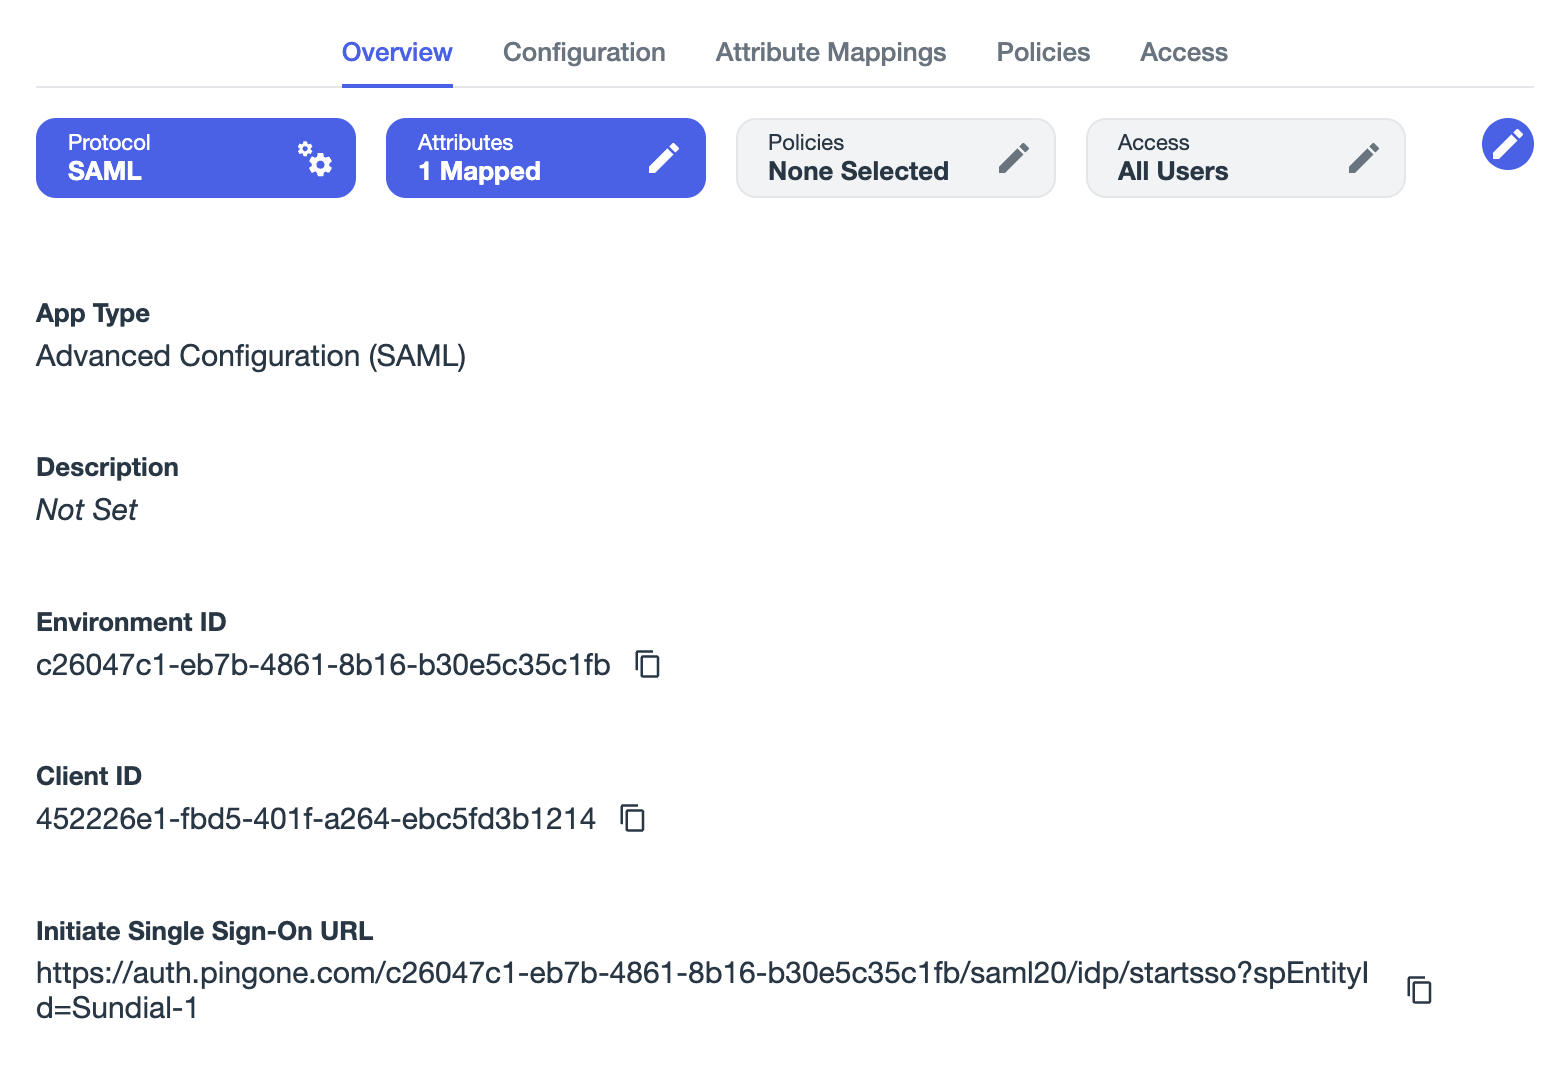
After saving the application, go to the Overview tab and provide Sundial with the Initiate Single Sign-On URL.
-
Under the Configuration tab, Download Metadata and Download Signing Certificate, and provide these to Sundial.
-
On the Attribute Mapping tab, set the attributes as shown below:
Sundial PingOne Required saml_subjectEmail Address Yes displayNameExpression: ${user.name.given + ' ' + user.name.family}Yes emailEmail Address Yes firstNameGiven Name Yes identityProviderIdentity Provider ID — lastNameFamily Name Yes 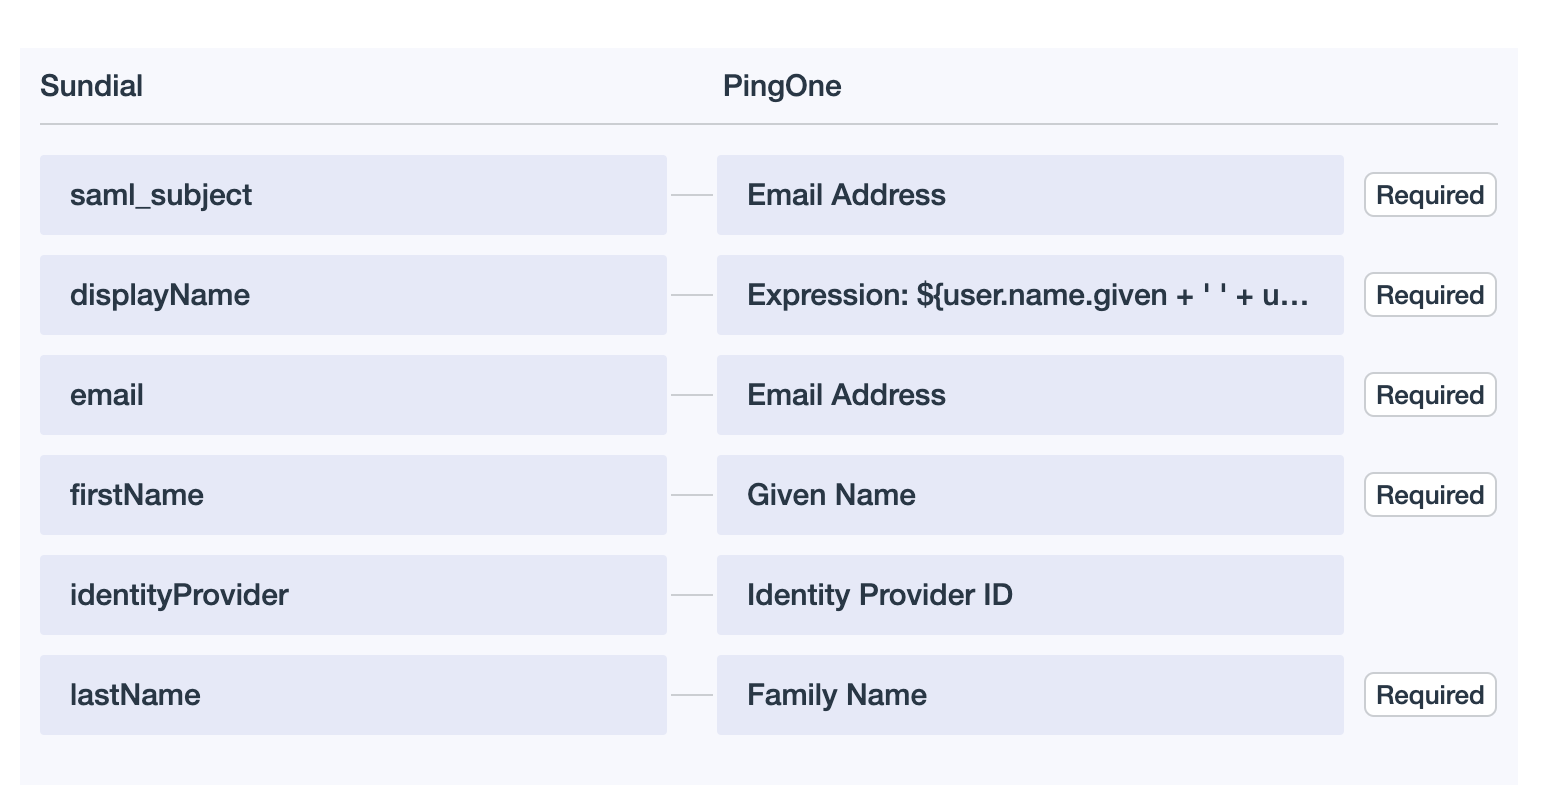
displayNameis configured as a PingOne expression that concatenates the user's given and family names: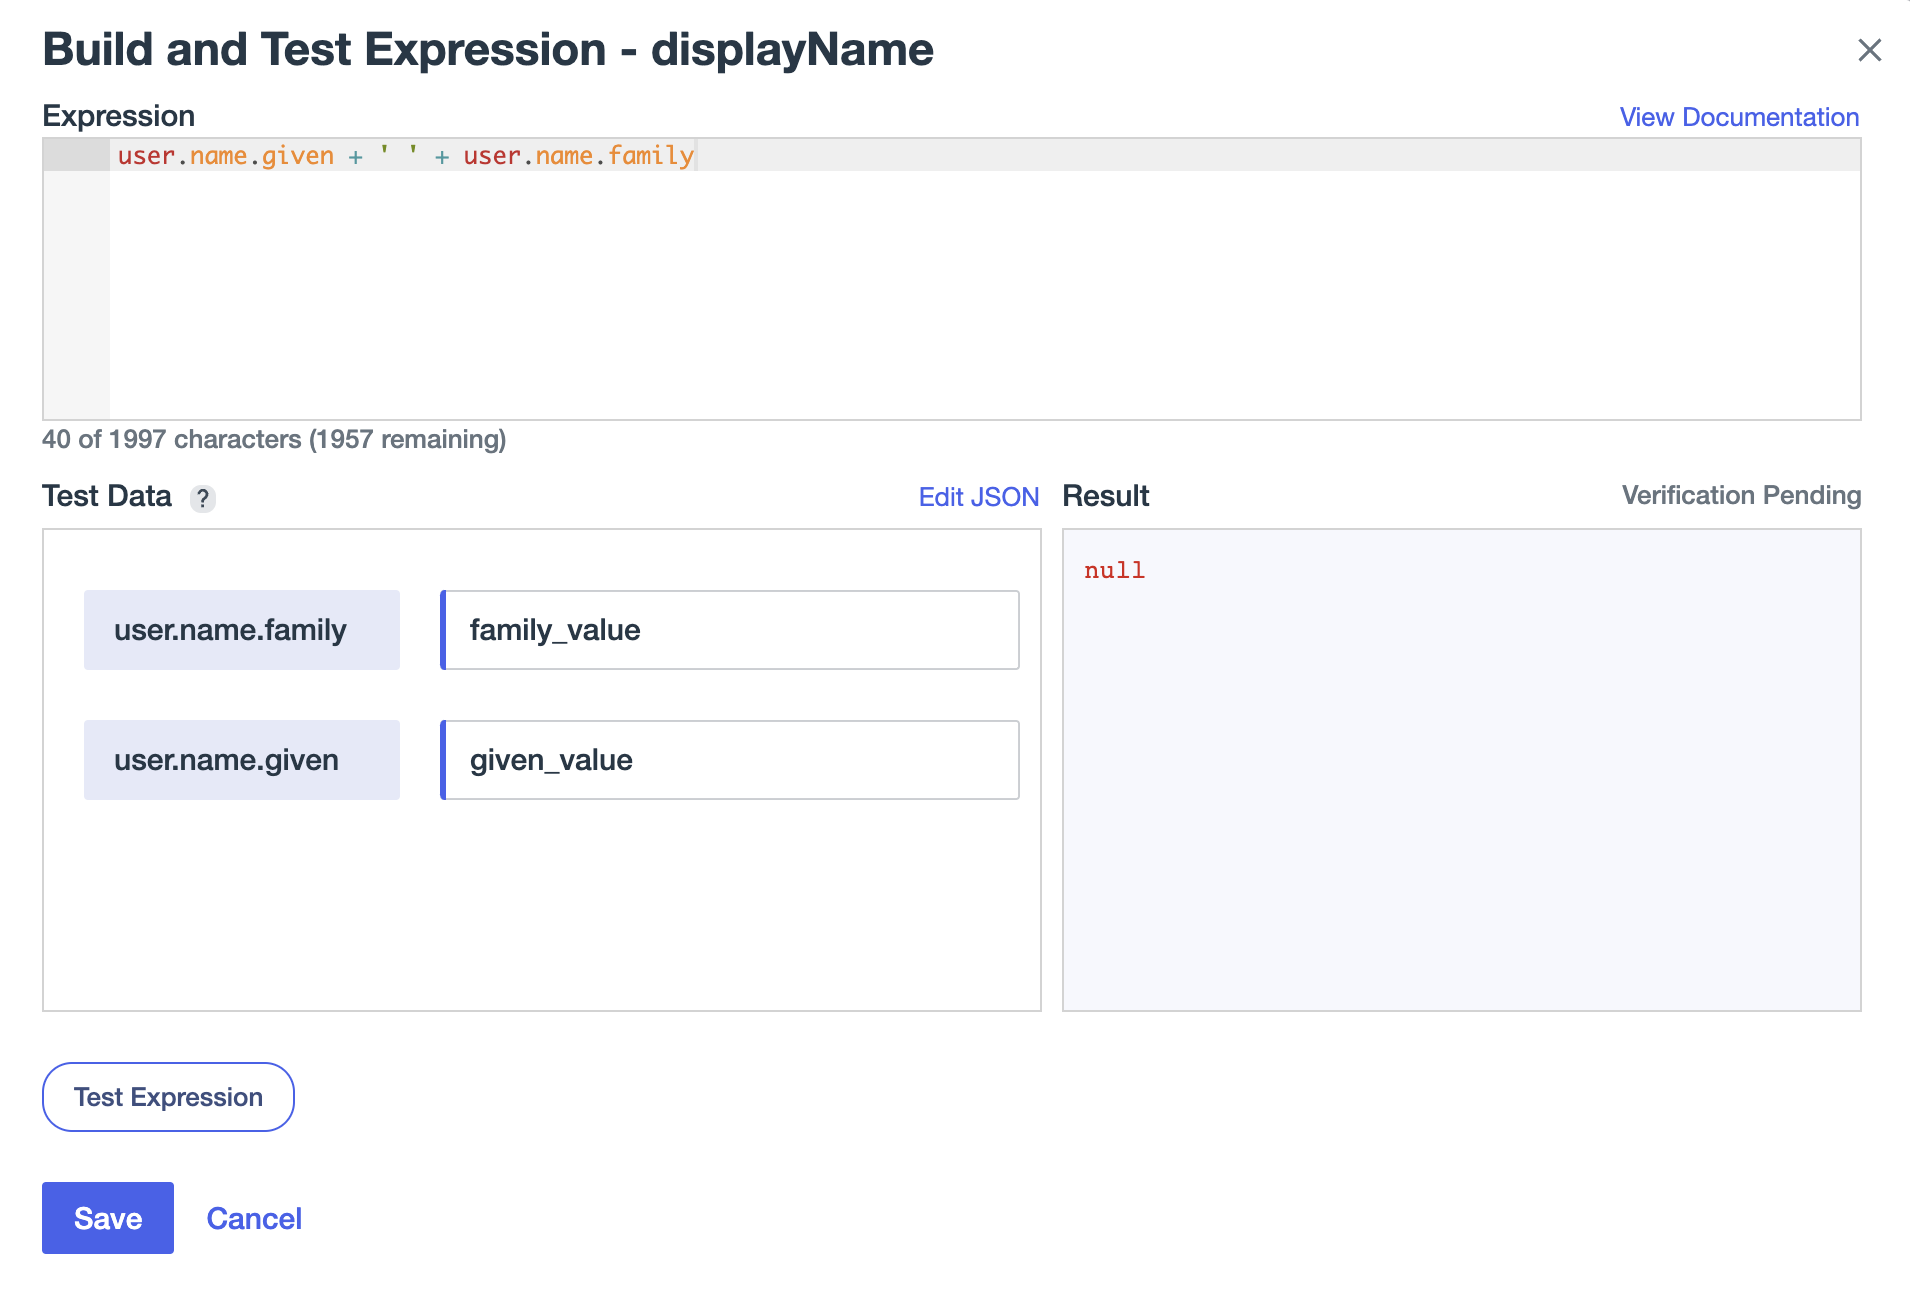
-
Once everything is done, turn on the Sundial application and you are good to go.